RSX HID KIT
Showing all 10 results
-
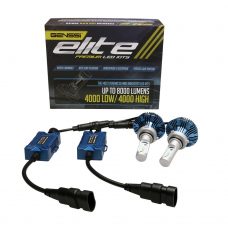
G7 Elite LED Headlight Conversion Kit 6000K Bulbs 8000LM
$69.95 – $89.95GENSSI® ELITE G7 has set a new benchmark in performance, design and durability of aftermarket lighting. Meeting and exceeding the expectations of even the most demanding buyer. Forget HID kits and low quality LED bulb kits. The GENSSI® ELITE G7 outperforms 99% of aftermarket lighting upgrades such as halogen bulbs, HID and LED kits. Designed to fit OEM headlights that came with halogen lamps. Fits most applications as long as there is sufficient space behind the headlamp for the extended heatsink. On some headlamps, drilling of the rear dust cover may be required.
-
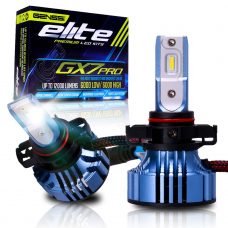

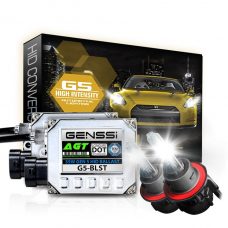
GX7 PRO Elite LED Headlight Conversion Kit 6500K Bulbs 12000LM
$139.95The GENSSI GX7 marks a significant step forward from the previous LED Kits in terms of both design and component selection. Up to 30% brighter than our already bright G7 kit.
Designed from the ground up to be the most technologically advanced and durable LED kit on the market. An uncompromising mission, deliver the best light possible in a factory headlight on the road! -
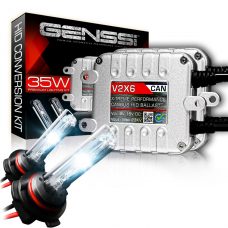
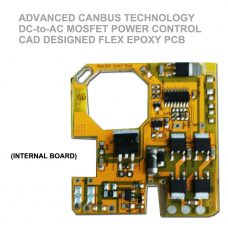
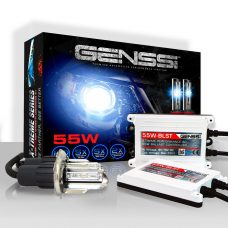
X6 CANBUS HID Conversion Kit Performance Xenon AC 35W
$79.9535W CANBUS Series HID Conversion Kit will light up the night like nothing else! Available in most bulb sizes for vehicles headlights and fog lights. Improved internal circuitry prevents many errors and bulb out messages on European and American vehicles.
-
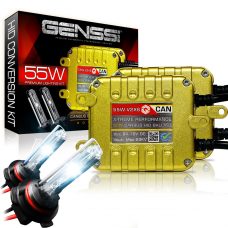
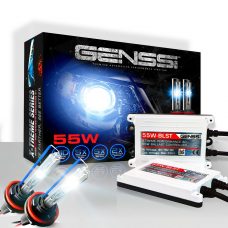
X6 GOLD CANBUS HID Conversion Kit Performance Xenon AC 55W
$89.9555W CANBUS GOLD Series HID Conversion Kit will light up the night like nothing else! Available in most bulb sizes for vehicles headlights and fog lights. Improved internal circuitry prevents many errors and bulbs out messages on European and American vehicles.


2002 ~ 2004 Acura RSX:
High Beam headlamp: H1
Low Beam headlamp: H1
2005~ 2006 Acura RSX:
High Beam headlamp: 9005
Low Beam headlamp: H1
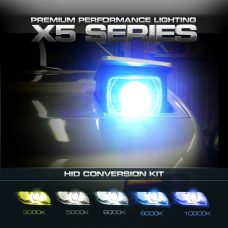
RSX HID Kit is designed to provide the driver with greater night visibility. RSX HID kits have three times the lighting power of a conventional halogen bulb. This HID kit will make for a great upgrade for your RSX. The installation instructions for RSX HID installation are below: Step 1: Remove the six clips on top of the bumper. Use a flat head screw driver and be very careful. Step 2: Remove the six clips on the bottom of the bumper. There are 4 across the center and one on each side in front of each wheel. Step 3: Remove the four screws from the bottom of the bumper. There are two on each side in front of each wheel. Step 4: Remove the two screws that are located in the fenderwell. There is only one screw per side. It is located in between the bottom and the top of the fender. Step 5: Remove the top two 10mm bolts from each of the headlamps. Step 6: Remove the 10mm bolt on the side of each headlamp. Step 7: Using the socket and the extension, remove the bolt on the inside of headlamp. It is located right below the thin part of each headlight. Disconnect all other bulb harnesses. Remove the bottom metal piece (10mm bolt) from the stock headlamp, install the metal piece onto the JDM headlamp. Step 8: Remove the low beam bulbs and the plugs that hold them in place. Step 9: Using a dremel tool you need to remove a large portion of the stock bulb connector housing. It is pretty easy, but takes a while to get proper fitment. Be sure that you don’t do too much because it will cause the bulb to be lose. Take your time and continuously check using the HID bulb to make sure you get it perfect. You need to do this for both sides. Step 10: Install the HID bulb using the stock connector housing to hold the bulb in place. Step 11: I installed the ballests onto the fender. The fitment was good and it keeps it protected from the elements. I did this on both sides. Step 12: Wire up the remainder of the kit following the supplied instructions. I covered the wires with electrical tape for a little extra protection and to give it an OEM quality look. Step 13: Make sure everything works before reinstalling the bumper and the headlamps. Step 14: Reinstall bumper reversing steps one through four.